| Place of Origin: | Guangdong, China |
|---|---|
| Brand Name: | Sreada |
| Model Number: | SRD.TGG.0B.304.CLAD52Z M TO RJ45 L=500mm |
| Minimum Order Quantity: | 50 Sets |
| Price: | $3.00 - $30.00/Sets |
| Packaging Details: | by packaged vaccum seal bags or plastic boxes,then carton packaging |
| Delivery Time: | 5-7 Days |
| Payment Terms: | L/C, D/P, T/T |
| Supply Ability: | 5000 Set/Sets per Week |
| Cores: | 4 | Series: | 0B |
|---|---|---|---|
| Rated Current: | 7A | Test Voltage(Needle Core): | 0.85 KV Rms |
| Test Voltage(shell): | 0.7 KV Rms | Core Type: | Welding |
| High Light: | TGG External Connector Cable,EMC Shielded External Connector Cable,TGG 4 Pin Connector Cable |
||
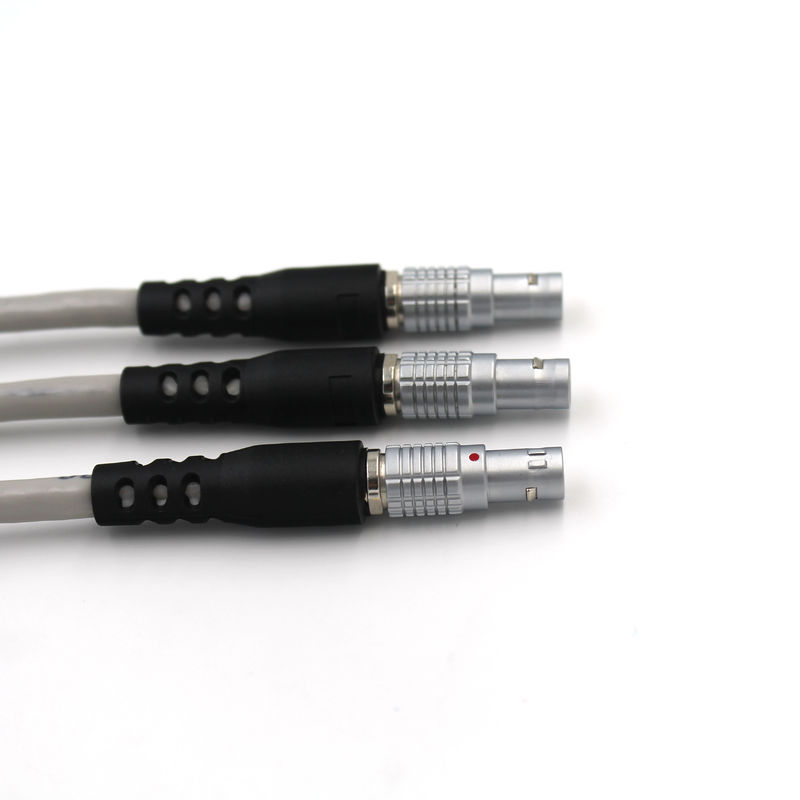
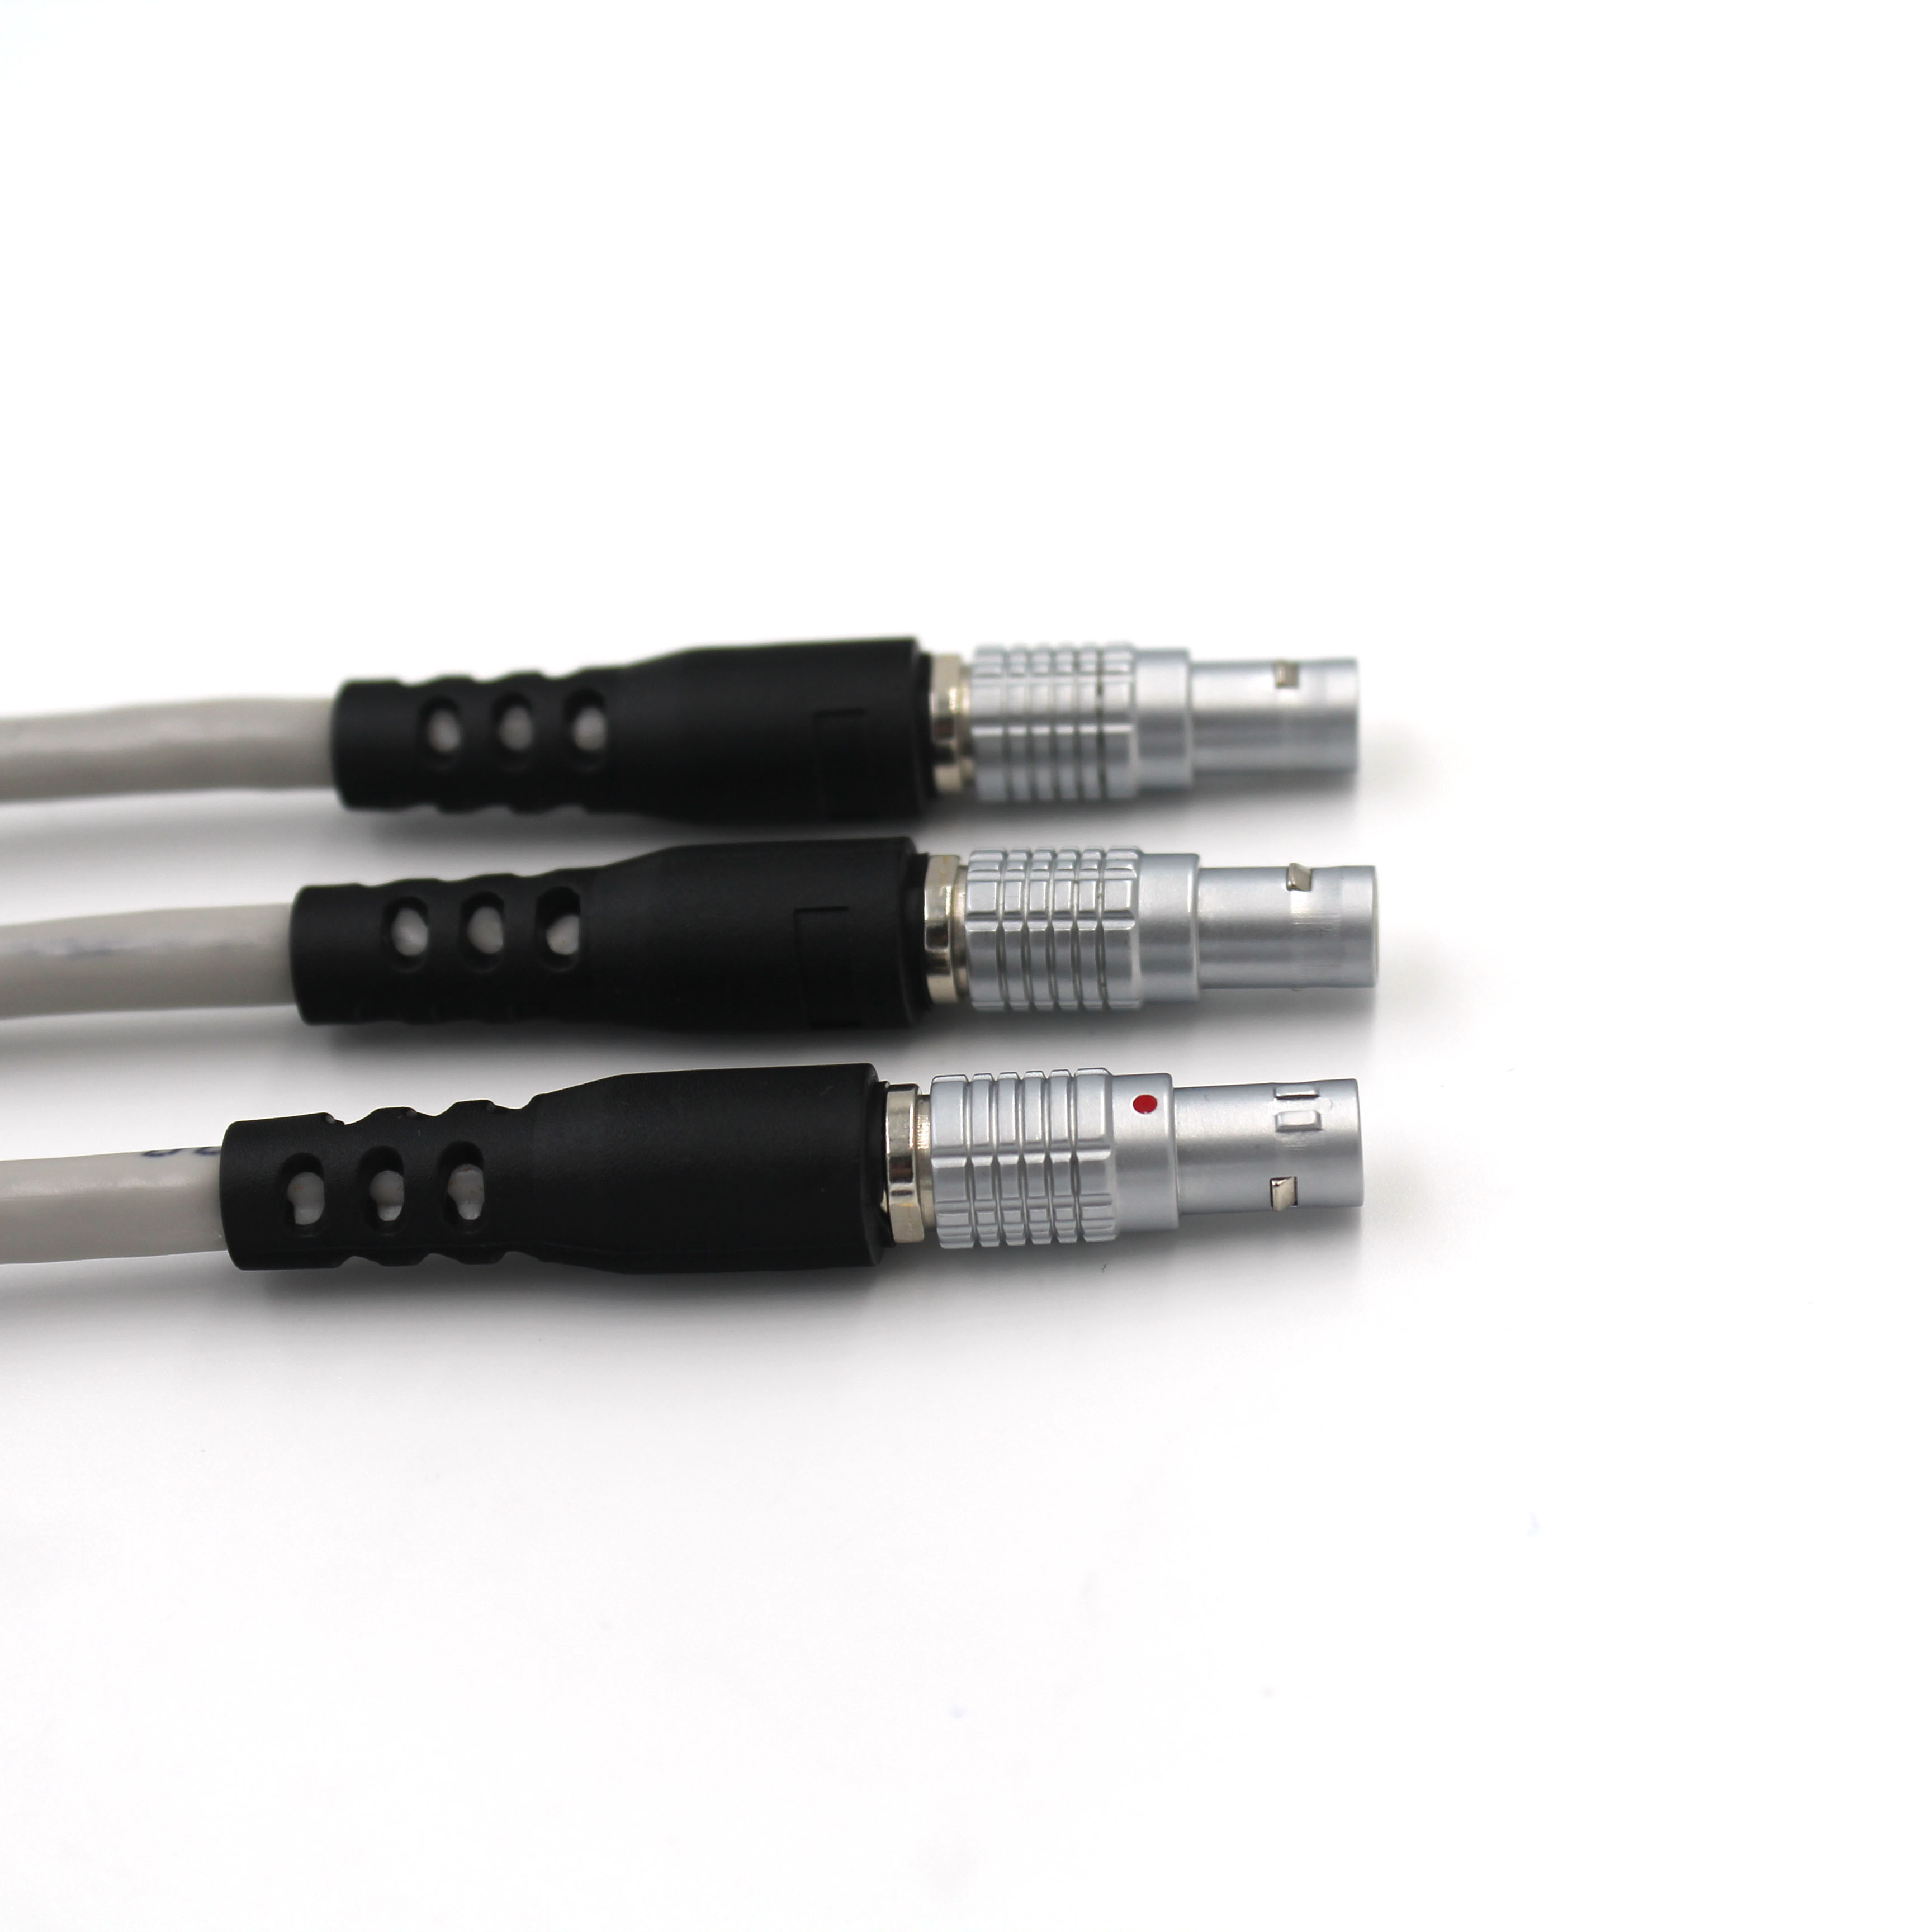
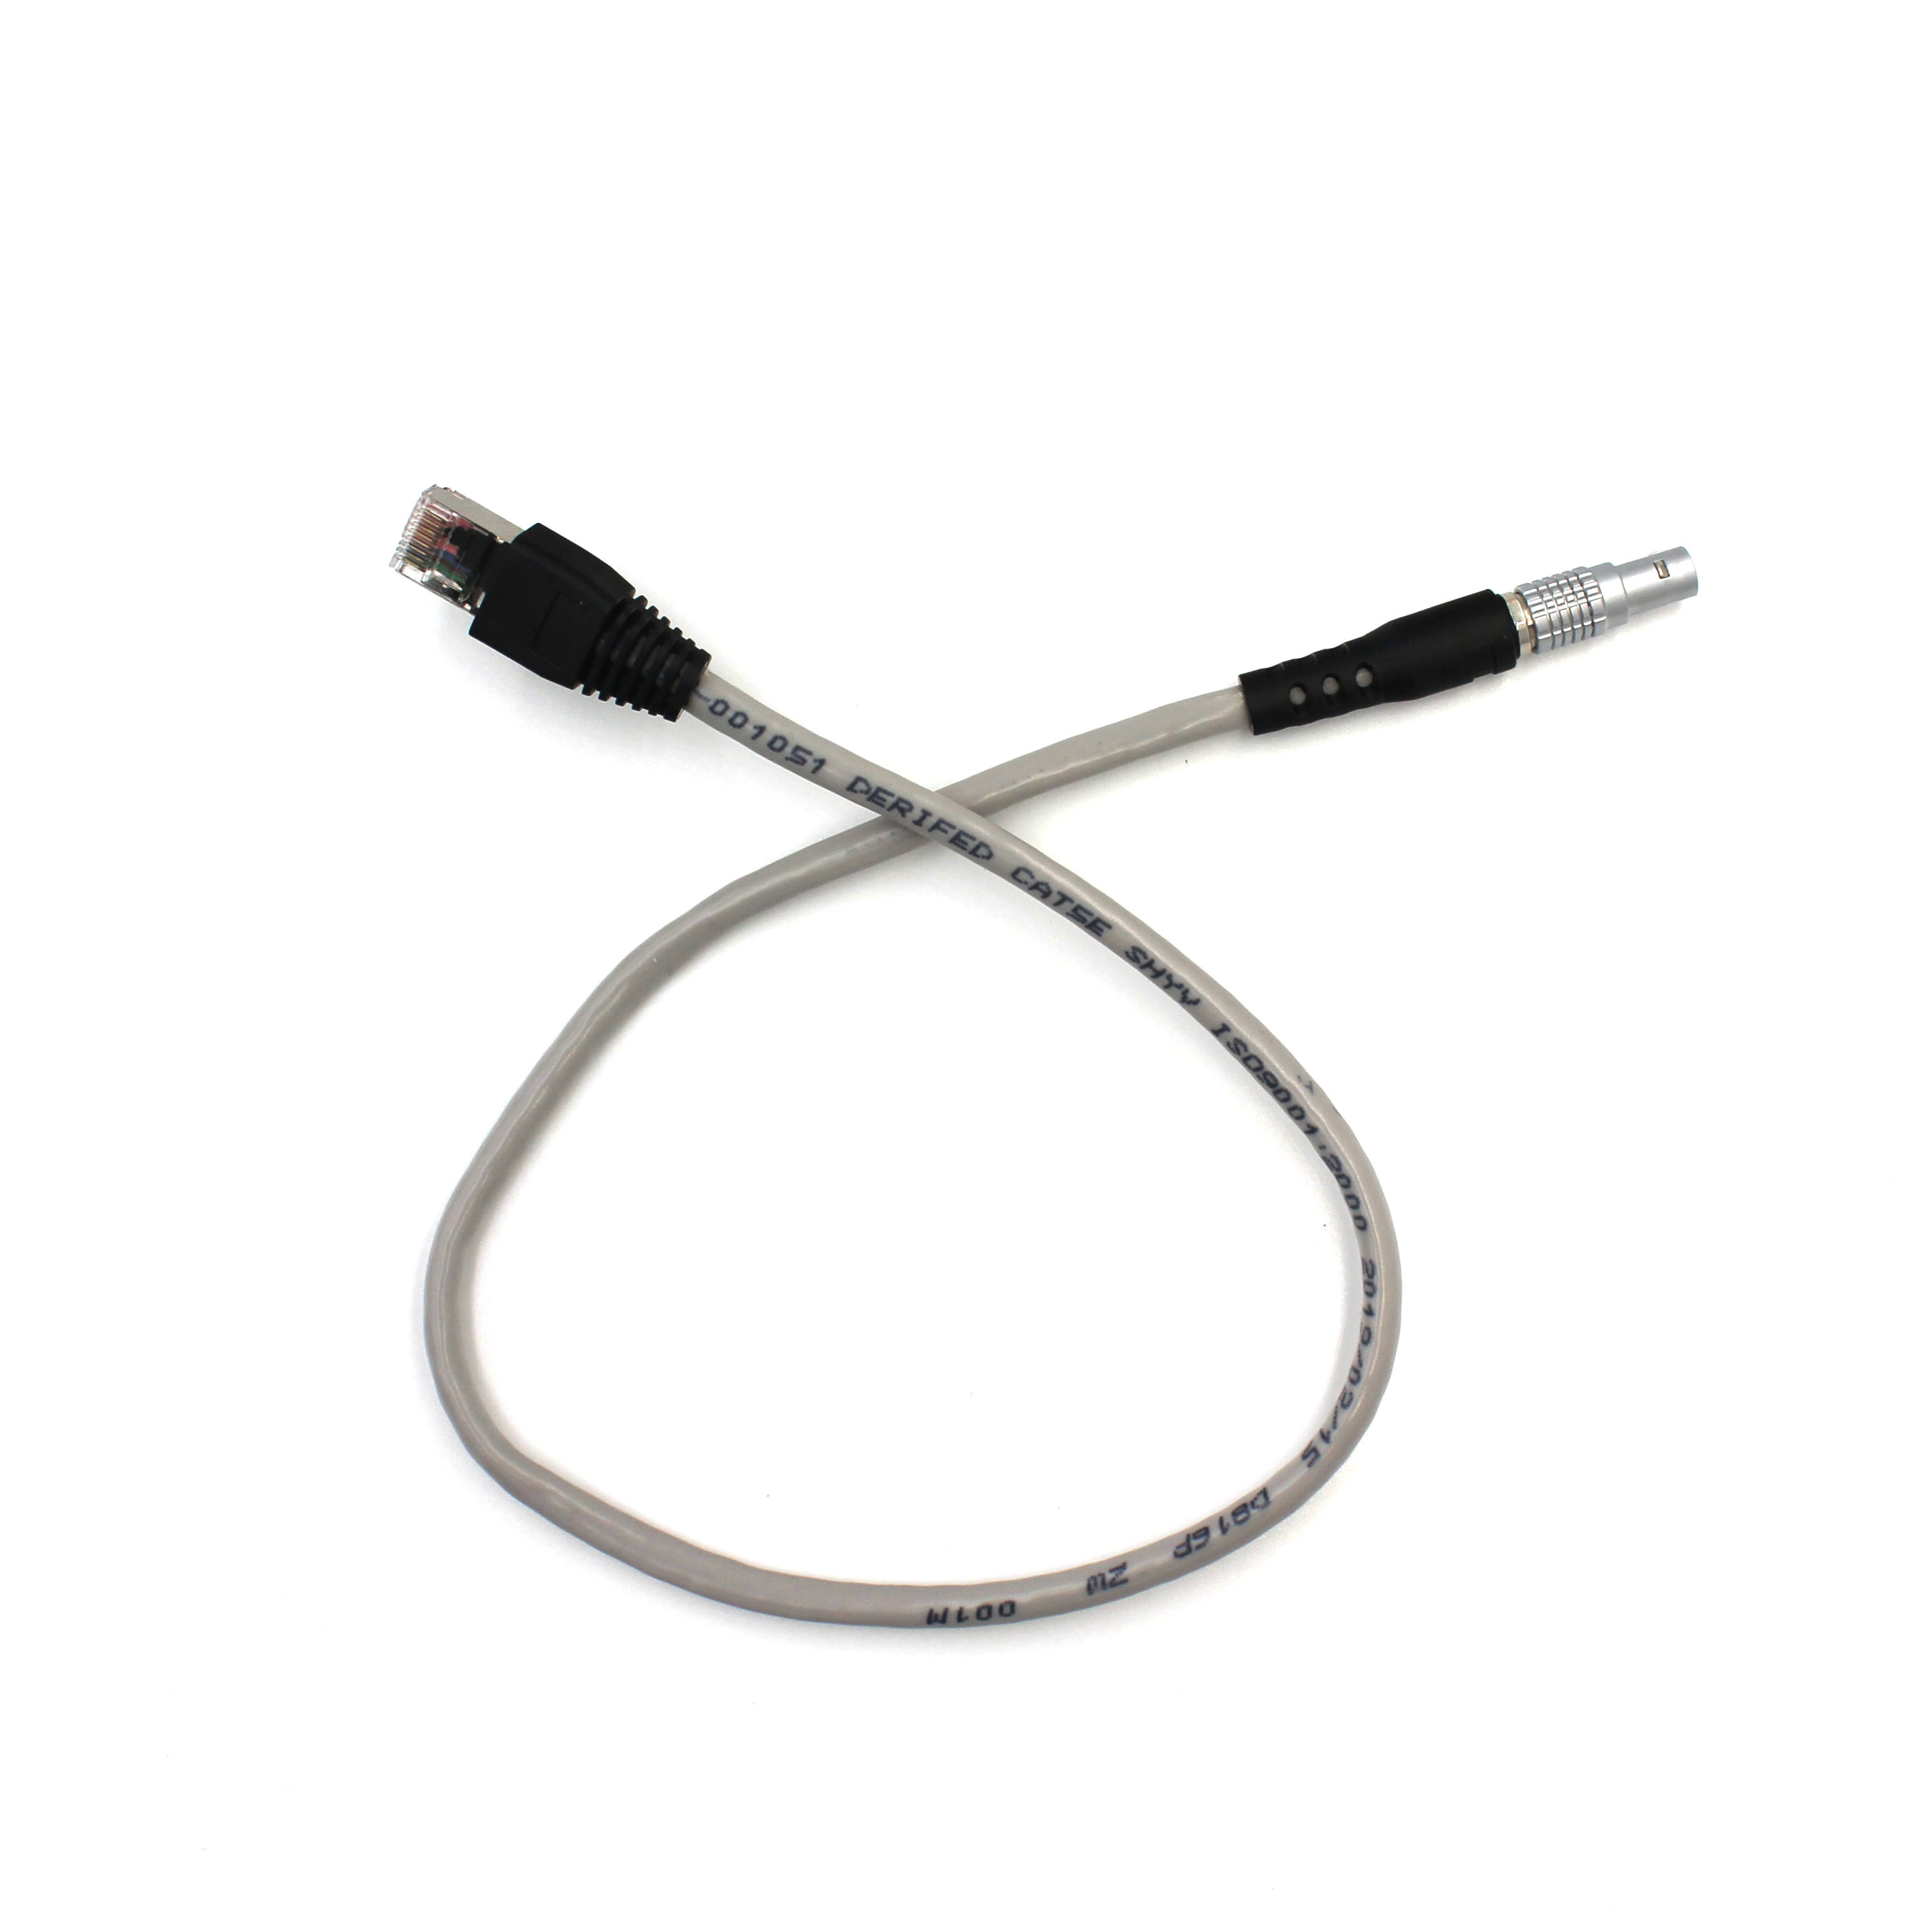
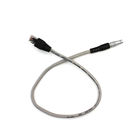
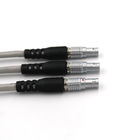
TGG 4 Pin External cable EMC shielded for airborne MESH network port
Quick detail of TGG.0B.304 self-locking connectors:
The 0B Series 4-contacts connector has a plug in-line connection. This connector’s rated current reaches 7A. The connector features a highly accurate push-pull self-locking system with cable clamps and nuts. It has a rugged design for harsh outdoor applications. With 360° shielding to enhance EMI performance, the 0B series cable connectors are suitable for applications requiring high accuracy and non-interfering signals.
![]()
Specifications of TGG.0B.304 self-locking connectors:
| Endurance | >1000 cycles |
| Humidity | Maximum humidity up to 95% at a temperature of 60℃ |
| Temperature | -45℃~+125℃ |
| Vibration | 10~20000HZ,15g |
| Mechanical shock | 100g.6ms |
| Salt spray corrosion test | >48hrs |
| Termination | Solder |
| Fastening type | Push-pull |
| Shell finish | Chrome |
| Shell color | Silver |
| Contact material | Brass |
| Contact color | Gold |
| Insert material | PPS |
Applications of TGG.0B.304 self-locking connectors:
1. medical:diagnostic devices, medical imaging
2. instrumentation:test&measurement, sensors
3. transport:automotive
4. broadcast:studios and outside broadcasting, remote camero control
Cable assembly process :
1. Pass the cable through the sheath, the tail nut, and the cable clamp in turn, and weld it to the insulator assembly in accordance with the order.
2. Install the two-piece insulator clasp onto the welded insulator assembly, noting that the window on the clasp corresponds to the protrusion on the insulator assembly.
3. Install the cable clamp to the appropriate position of the cable, noting that the protrusions on the cable clamp correspond to the grooves on the insulator clasp.
4. Push the insulator assembly, insulator clasp and cable clamp into the plug assembly in turn, paying attention to the protrusion on the insulator clasp ring and the gap in the plug assembly.
5. Tighten the tail nut to the plug assembly.
6. Put the jacket on the corresponding step of the tail nut.